how to set the timing on a accucraft ruby
Introduction
how to set the timing on a accucraft ruby The Accucraft Ruby is a beautiful and practical model steam locomotive valued by amateurs and collectors alike. But like any carefully tuned machine, the Ruby needs regular maintenance to maintain maximum performance. One of the most critical duties you’ll need to learn is establishing the timing on the engine. This is critical for keeping your Ruby working smoothly and effectively.
In this post, we’ll take through a full explanation on how to adjust the time on your Accucraft Ruby, even if you’re a newbie. We’ll cover everything from the equipment you need, to step-by-step directions, and even some recommendations for avoiding frequent blunders.
Understanding the how to set the timing on a accucraft ruby
What is the Accucraft Ruby?
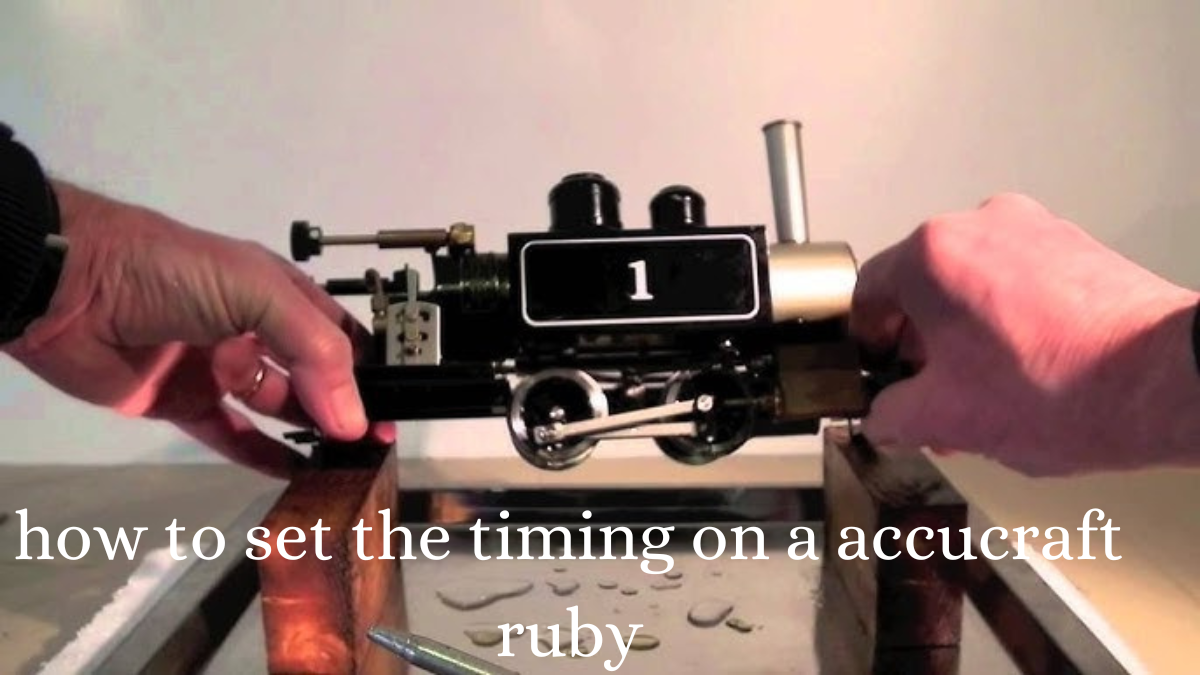
The Accucraft Ruby is a 1:20.3 size live steam model of a narrow-gauge locomotive. Known for its basic appearance and solid construction, it’s a favorite among steam fans. Despite its diminutive size, the Ruby may give hours of entertainment, particularly if you love working with little steam engines.
Why Timing is Important for the Ruby
The timing of a steam engine relates to how the valve movement corresponds to the piston’s position. Proper timing ensures that steam enters and leaves the cylinder at the ideal times, which translates into smooth operation, efficiency, and power. If the timing is wrong, your Ruby may run badly or even stall, lowering the locomotive’s overall performance.
Tools You’ll Need
List of Essential Tools
Before you start altering the time, make sure you have the necessary tools:
- Small screwdrivers (Phillips and flathead)
- Needle-nose pliers
- Small adjustable wrench
- Lubricant for steam engines
- Precision ruler or caliper
- Timing diagram (specific to the Ruby model)
Safety Precautions Before Starting
- Ensure the Ruby has totally cooled down before working on it.
- Wear protective gloves to prevent injury.
- Make sure the work environment is clean and well-lit to prevent losing minor pieces.
What is Timing in a Live Steam Engine?
The Concept of Valve Timing
In a steam engine, timing refers to the order in which the steam is admitted to and expelled from the cylinders. how to set the timing on a accucraft ruby This has to be properly aligned with the position of the piston for the engine to run effectively. Adjusting this is called “setting the timing,” and it includes ensuring that the valve opens and shuts at the proper point throughout the piston’s stroke.
The Role of Timing in Performance
Correct valve timing leads in economical steam use, smooth operating, and maximum power production. Incorrect timing may produce erratic motions, halting, or wasteful steam usage, which lowers performance.
Signs That Your Ruby’s Timing Needs Adjustment
Poor Steam Efficiency
If your Ruby consumes more steam than normal, or you find it running out of steam rapidly, poor timing might be the problem.
Irregular Running or Stalling
Sudden halt or jerky motions are evident signals that the timing is incorrect. This might also lead to engine overheating, which can cause long-term damage.
Step-by-Step Guide to Setting the Timing on an Accucraft Ruby
Overview of the Timing Process
Setting the timing of a live steam engine like the Ruby entails altering the position of the valves so that steam is fed to the cylinders at the proper time. While it may seem difficult, following these steps will make it manageable.
Step 1: Removing the Body Shell
Accessing the Engine Components
First, you need to remove the body shell of your Accucraft Ruby. This will enable you to reach the valve gear and other engine components. Unscrew the little screws keeping the shell in place and gently take it off.
Handling the Body with Care
The body is fragile, so take care not to push it off. Once removed, store it in a secure spot to prevent any harm.
Step 2: Locating the Valve Gear
Identifying the Valve Components
Once the body is removed, you’ll be able to view the valve gear. The valves govern when steam enters and exits the cylinders, thus they are directly responsible for timing.
Key Areas to Focus On
Focus on the eccentric crank and the valve rod, since these are the key components that will require adjusted for timing.
Step 3: Adjusting the Eccentric Crank
What is the Eccentric Crank?
The eccentric crank is component of the valve gear that powers the opening and shutting of the valves. It plays a significant function in deciding when the valve will open and shut during the piston stroke.
How to Adjust It
Use a tiny wrench to change the position of the eccentric crank. Make careful to change it slowly, since even little tweaks may have a major influence on time.
Step 4: Setting the Valve Timing
Aligning the Valve with the Cylinder
Next, position the valve so that it opens just when the piston reaches the top of its stroke. Use a precise ruler or caliper to guarantee proper alignment.
Fine-Tuning the Valve for Optimal Performance
After the first alignment, you may need to fine-tune the valve’s position for best performance. This stage demands patience, since you’ll need to make very modest tweaks and assess the outcomes.
Step 5: Reassembling and Testing
Putting Everything Back Together
Once you’ve established the timing, reassemble the body shell and other components. Make sure all screws are snug but not over-tightened.
Testing the Engine After Adjustment
Fire up the Ruby and evaluate the engine’s performance. Listen for smooth functioning and look for constant motion. If the engine runs without stalling or jerking, your timing is appropriately adjusted.
Common Mistakes to Avoid
Over-tightening Components
Be cautious not to over-tighten screws or components, since this might harm sensitive parts.
Misaligning the Valves
Incorrect valve alignment might result in poor engine performance or possibly damage. Double-check your measurements and modifications.
Maintaining the Timing on Your Ruby
Regular Check-ups
Regularly verify the time to ensure it stays correct. Adjustments may be required over time as the engine components wear.
Lubrication and Maintenance Tips
Lubricate the moving components of the engine periodically to avoid wear and maintain smooth performance. This also helps preserve the precision of the timing.
Conclusion
Setting the timing on your Accucraft how to set the timing on a accucraft ruby may seem difficult at first, but with patience and the correct tools, you’ll have your train working like a dream in no time. Remember, proper timing is vital to smooth and effective performance, so don’t neglect this essential step in your Ruby’s maintenance regimen.
5 Unique FAQs
1. How often should I check the timing on my Accucraft Ruby?
You should verify the timing every few months or after every 10 hours of operation to guarantee it stays correct.
2. Can I set the timing without removing the body shell?
No, you need to remove the body shell to reach the engine components for timing modifications.
3. What happens if I don’t set the timing correctly?
Incorrect timing may cause poor performance, stalling, or even long-term damage to the engine.
4. Do I need specialized tools to set the timing?
You simply need simple tools like screwdrivers, a wrench, and a precise ruler. A timing diagram for the Ruby is also useful.
5. Is setting the timing a one-time process?
No, the timing may require frequent modifications as components wear down over time.